Amazon Product Photography Guide: Plan a Photoshoot That Converts
Build the assets before you build the listing.

Your Amazon product photoshoot is not just about getting a few clean pictures of the packaging.
It creates the raw material for your main image, gallery images, A+ Content, Storefront, videos, ads, website, and social content.
That is why I call photography the bedrock of the brand.
A good shoot gives your creative team assets they can use for years. A badly planned shoot usually gives them six similar packshots, one generic lifestyle photo, and nothing they actually need to sell the product.
The mistake is not always poor photography. It is planning the shoot without first deciding what the Amazon listing needs to communicate.
In this guide, I’ll show you how I plan an Amazon product photoshoot around the shopper, the product’s USP, and the listing we need to build afterward.
Quick Answer: How Do You Plan an Amazon Product Photoshoot?
Start by identifying:
The product’s main USP
The target customer
The questions shoppers need answered
The gallery images you plan to create
The A+ Content and Storefront assets you need
The formats required for Amazon, social media, ads, and your website
Then create a shot list covering:
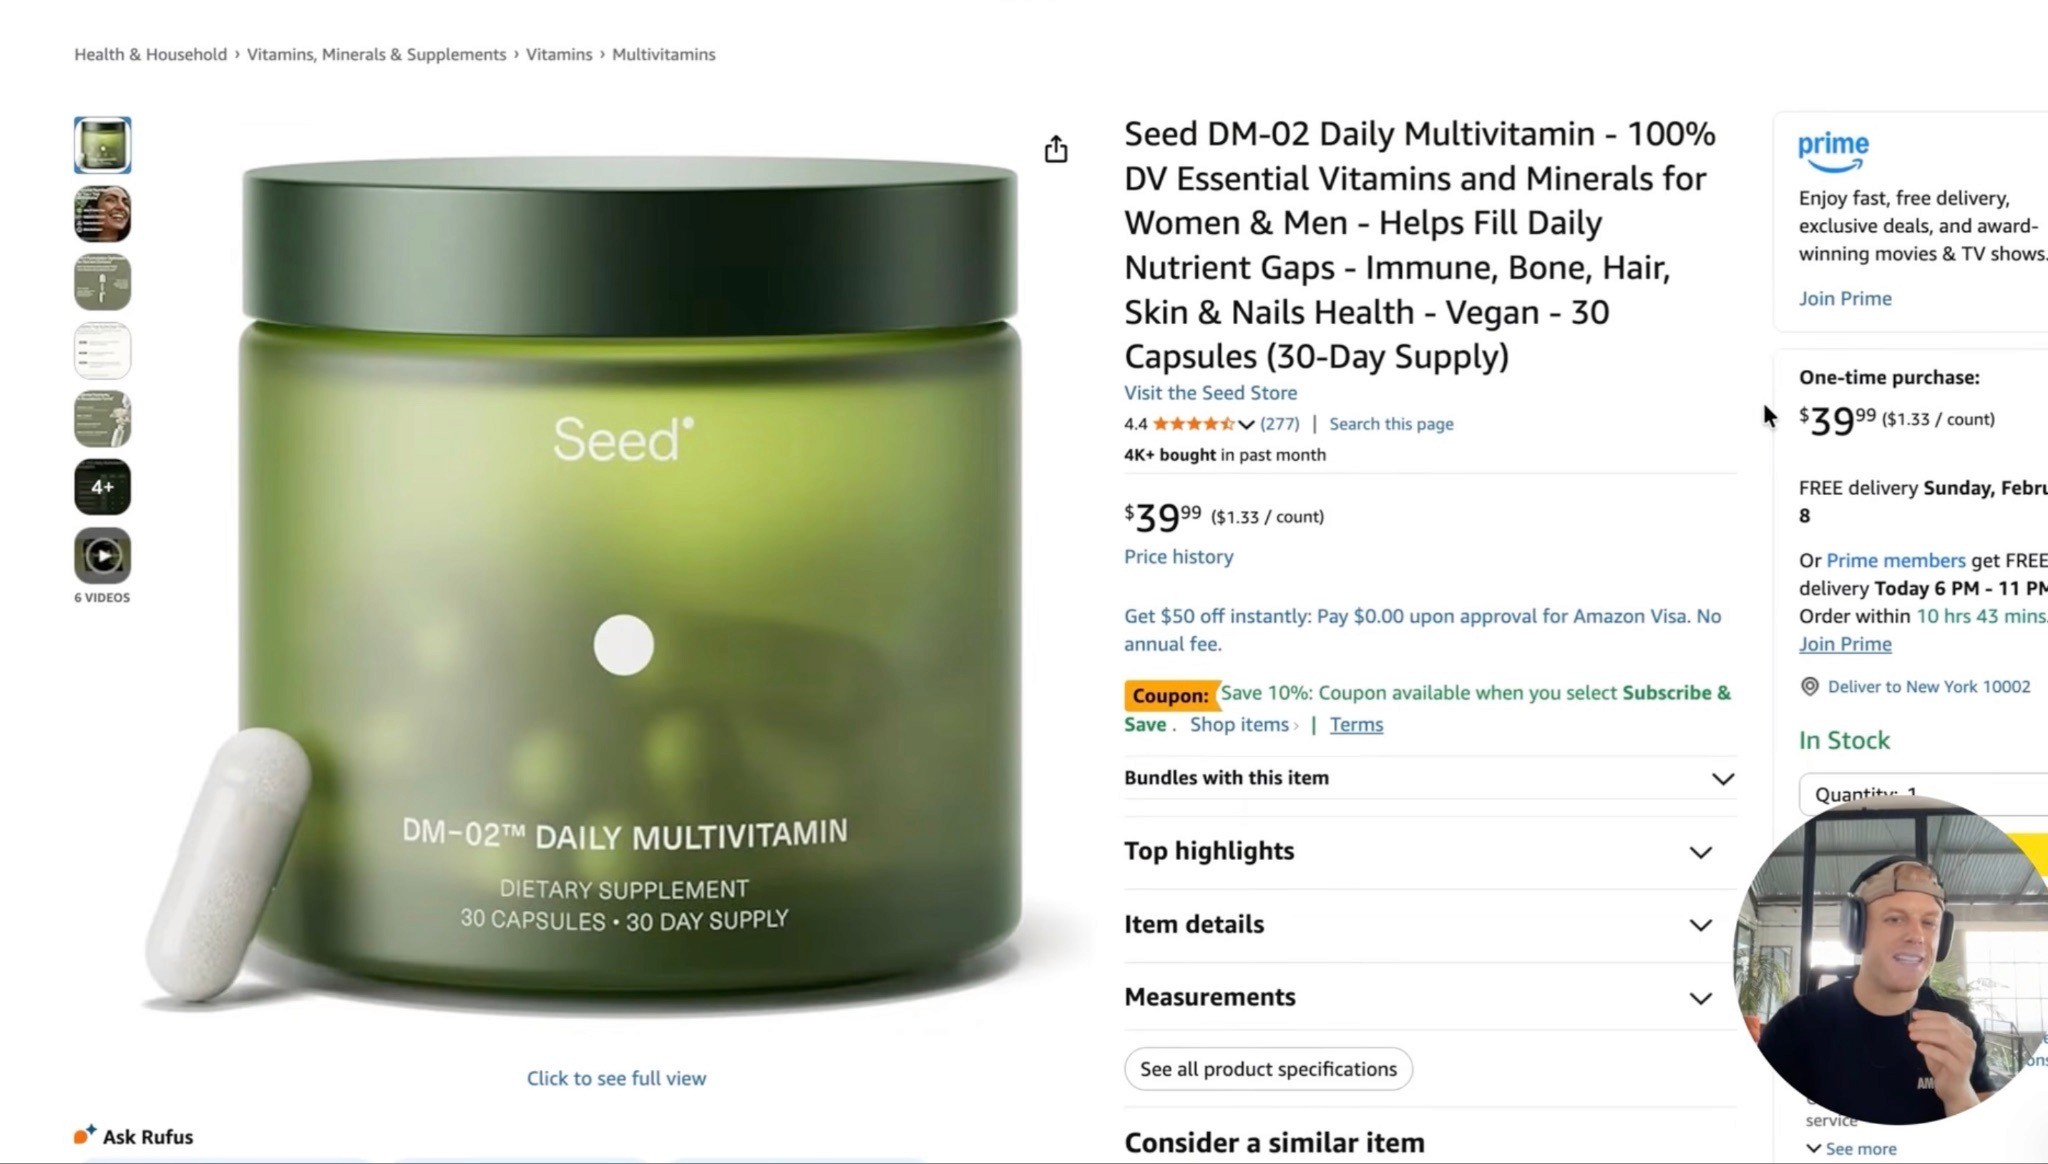
Clean studio images
Product angles
Product-in-use scenes
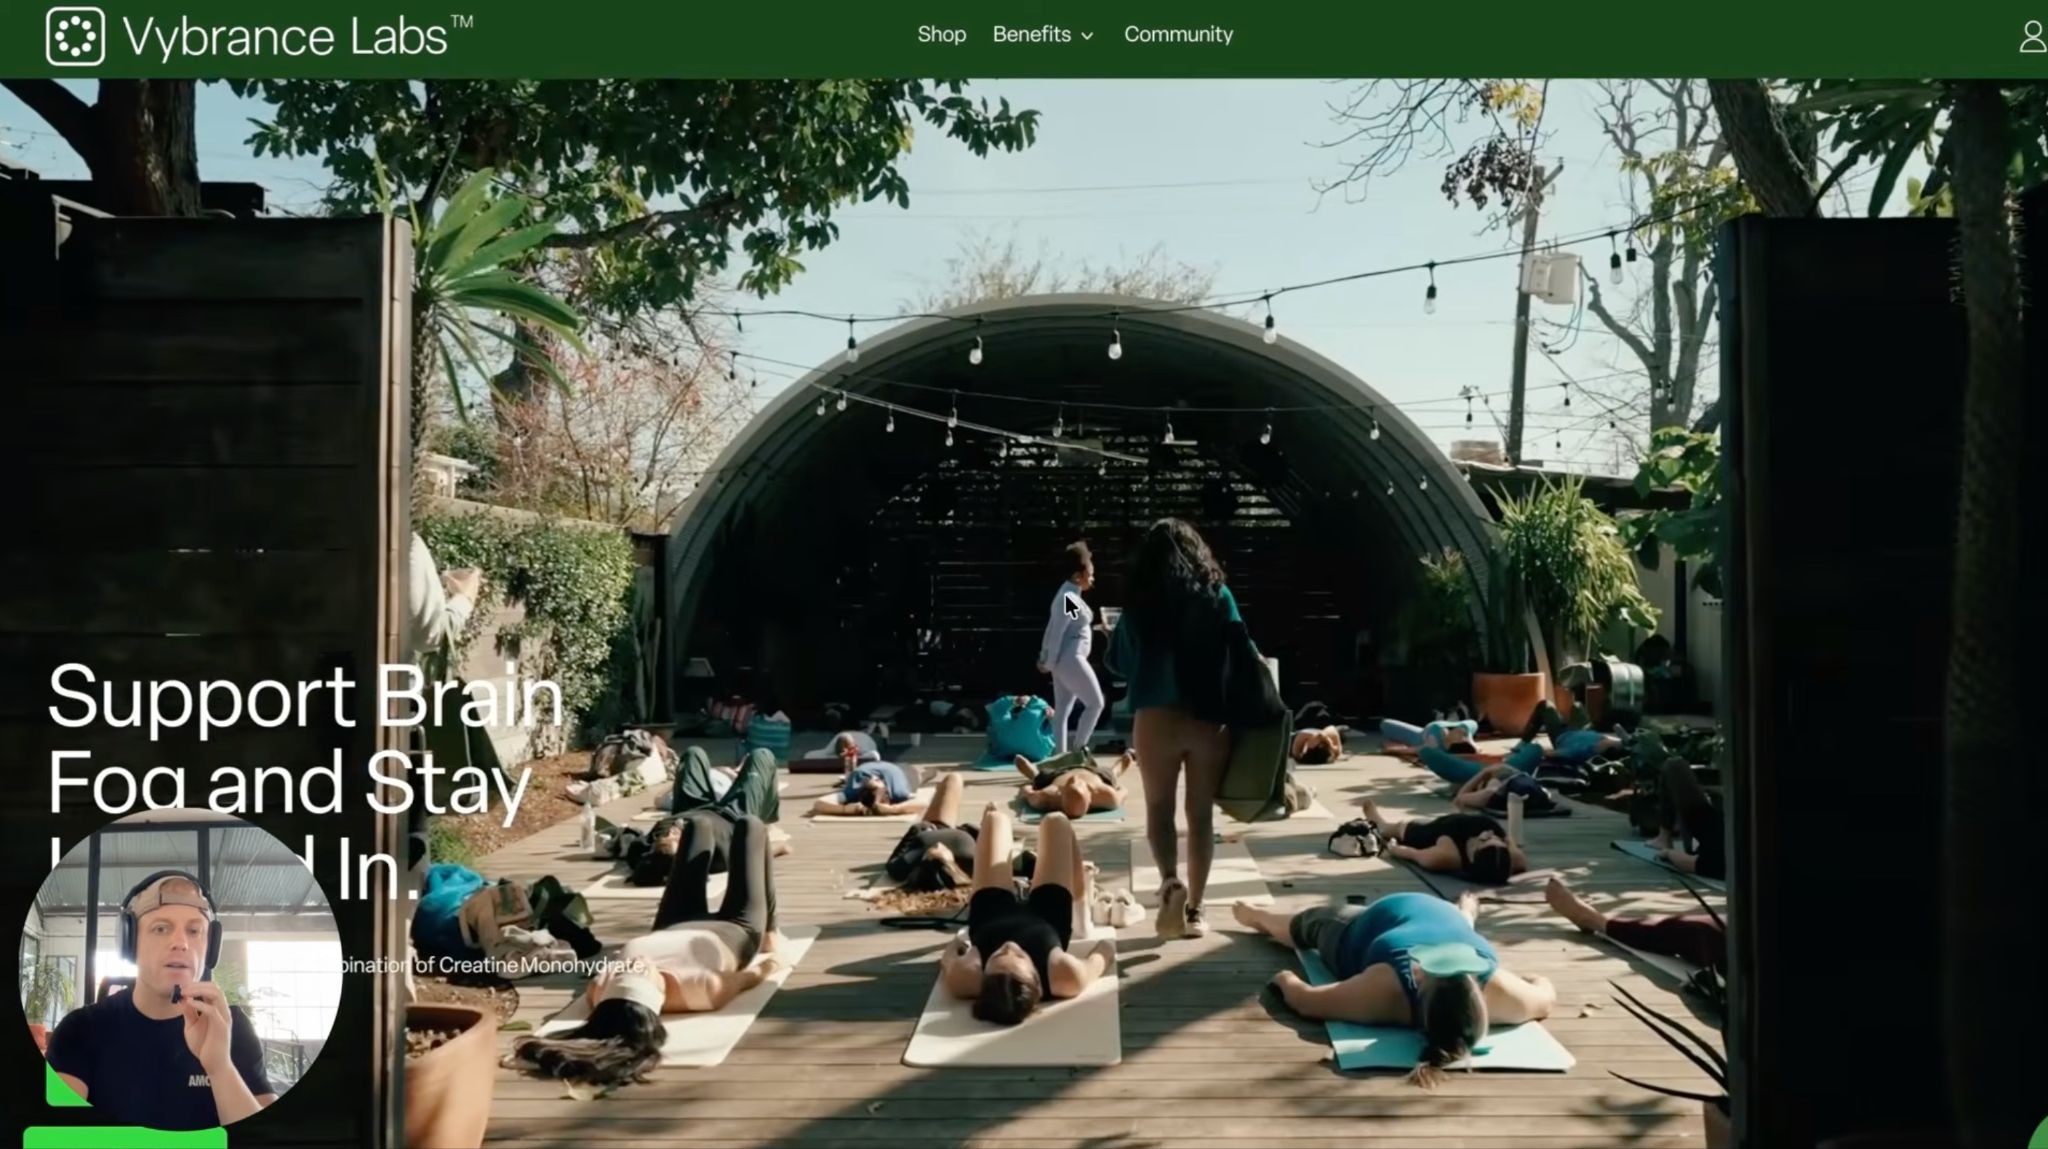
Lifestyle photography
Close-ups and texture
Scale and dimensions
Packaging and unboxing
How-to sequences
Ingredients, materials, or components
Horizontal, vertical, square, tight, and wide compositions
Video footage captured during the same shoot
The goal is not simply to make the product look attractive.
The goal is to create a visual library that helps shoppers understand the product, trust the brand, and feel confident buying it.
Product Photography and Listing Design Are Different

Photography creates the raw visual assets.
Listing design turns those assets into sales creative.
A photographer may deliver a clean product photo, a model holding it, a packaging close-up, and several lifestyle scenes.
Your Amazon creative team then turns those assets into:
A main image
Benefit-focused gallery images
Feature callouts
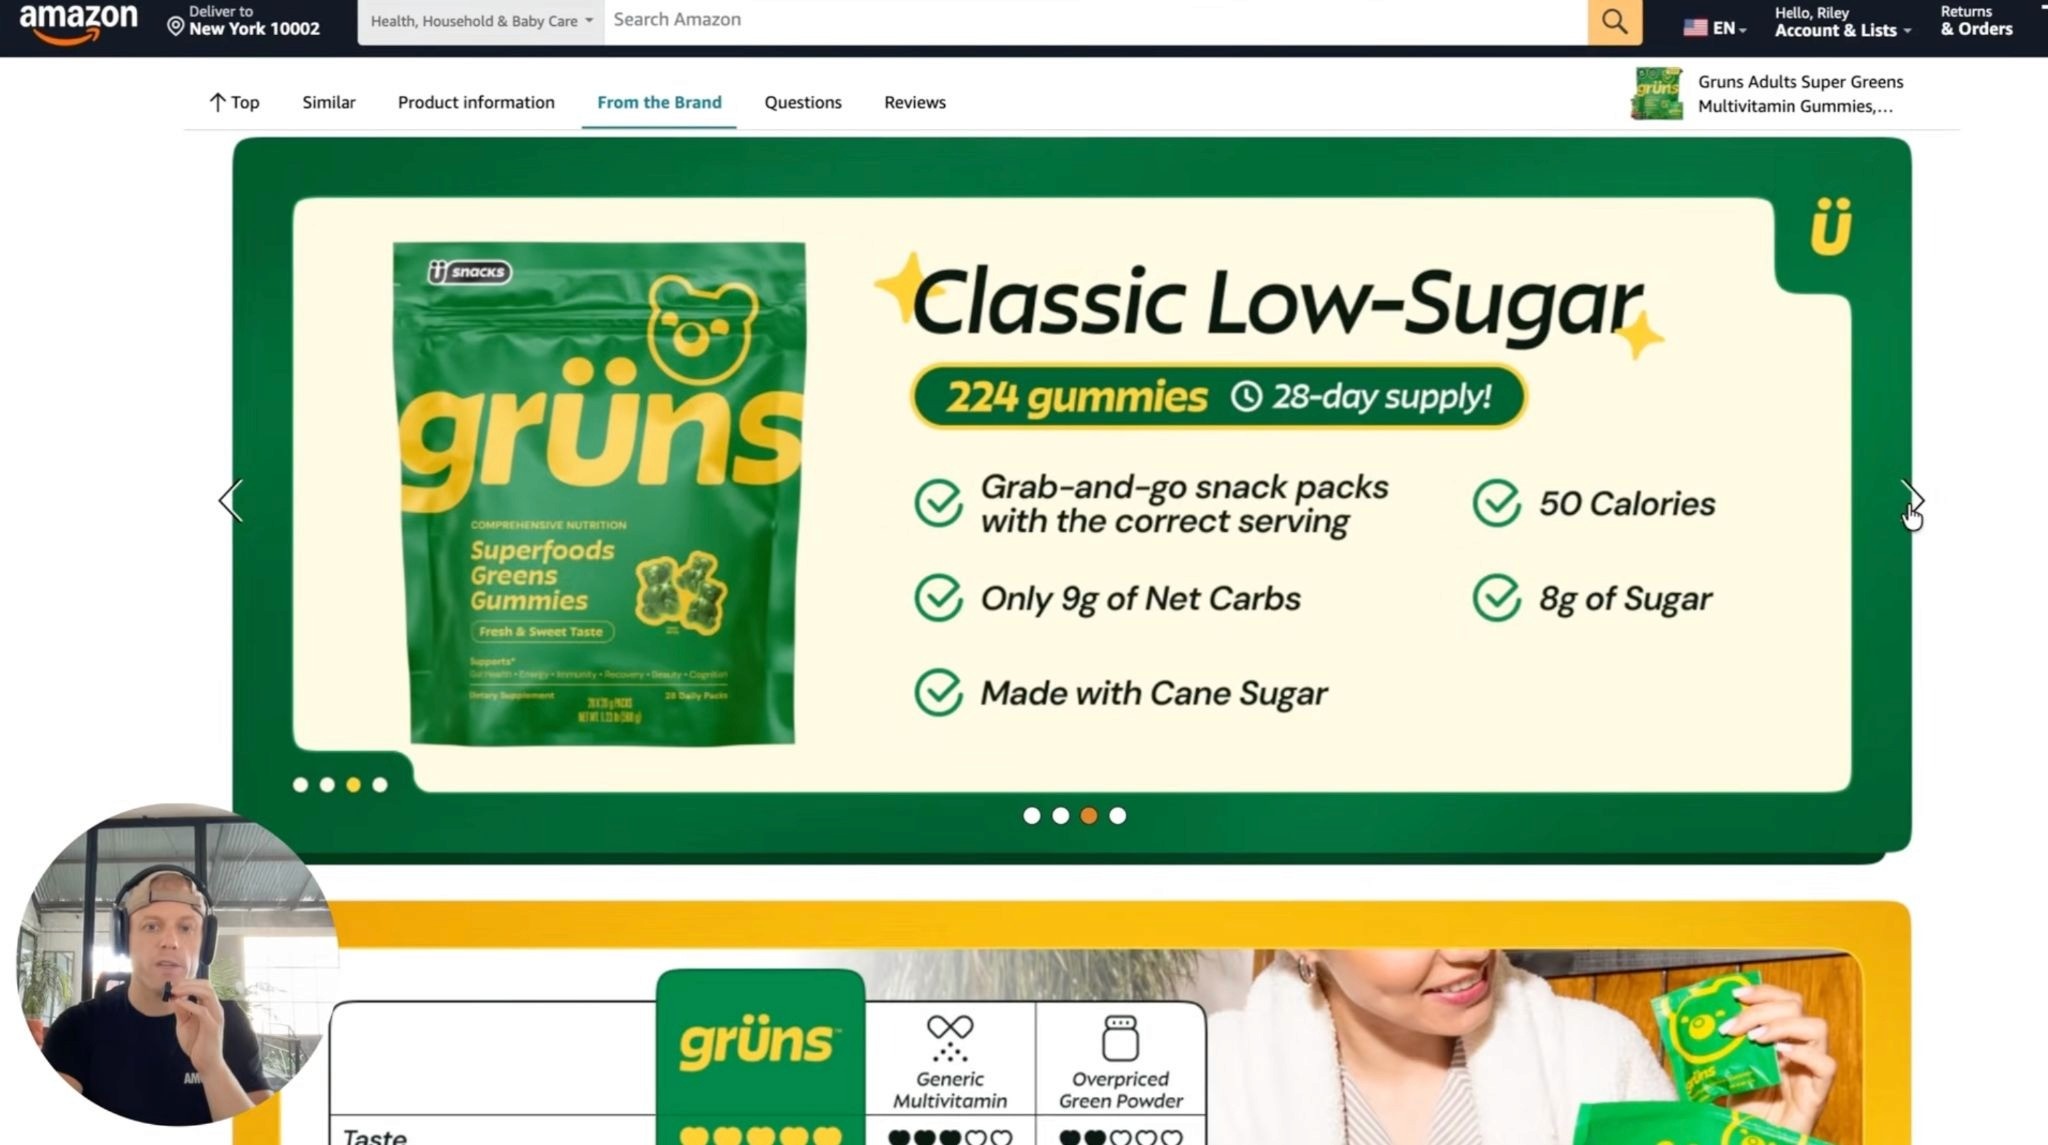
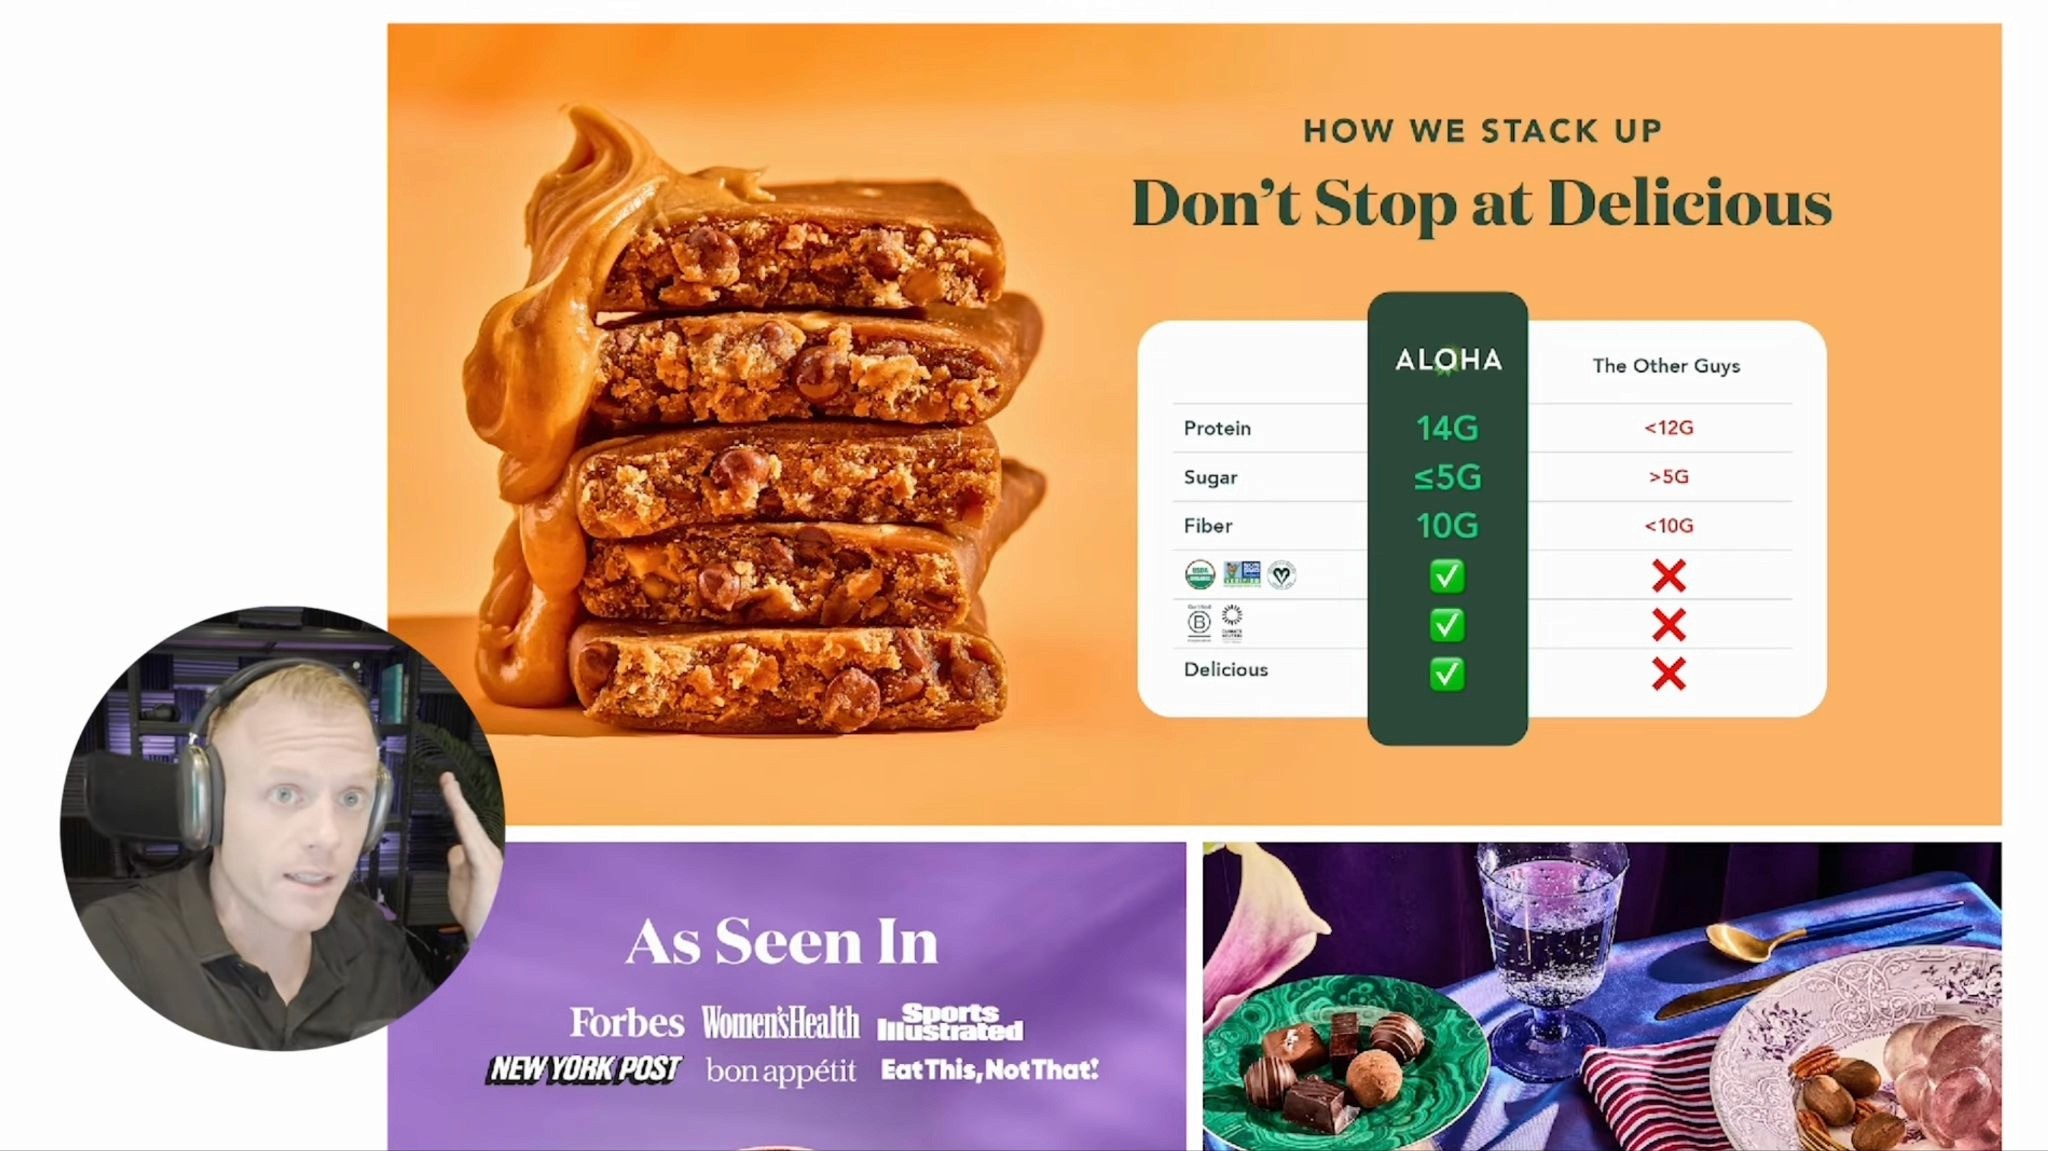
Comparison graphics
How-to images
A+ Content
Storefront banners
Video thumbnails
Advertising creative
That is why the production order should normally be:
Branding → Packaging → Photoshoot → Video → Listing Design → Storefront
Your branding and packaging should be finalized before the shoot. Otherwise, you may pay for photography that becomes outdated as soon as the label or packaging changes.
My broader launch framework also places professional photography before the listing design because it becomes the visual foundation for the Amazon page and the wider brand.
Photography gives your team the raw materials, but those assets still need to be organized around the shopper’s questions, objections, and buying priorities. I explain that full-page process in my Amazon Listing Optimization Guide for Higher Conversion Rates.
Why Amazon Product Photography Matters

Amazon shoppers cannot inspect the product physically.
They cannot feel the material, compare its scale, examine the packaging, test the texture, or see how it works in real life.
Your photography needs to answer those questions.
Strong product photos help shoppers understand:
What they are buying
What is included
How large it is
How it is used
Who it is designed for
What the material or texture looks like
How it fits into real life
Why it may be worth the price
Photography alone does not determine conversion rate. Price, reviews, rating, delivery, copy, offer, positioning, and traffic quality still matter.
But weak photography limits everything your designers can do.
When I audit a listing and see no lifestyle photography, demonstrations, close-ups, or scale references, the shopper is being asked to imagine too much.
I break down this full creative framework in my Amazon FBA Listing Optimization Masterclass, including why professional photography, real product-in-use scenes, and close-up shots form the foundation of a stronger Amazon page.
Plan the Listing Before the Shoot
Do not begin by asking what kind of photos would look cool.
Ask: “What does the shopper need to see before buying this product?”
Identify the USP

What is the clearest reason someone should choose your product over the alternatives?
It may be:
Size
Quantity
Material
Texture
Ingredients
Portability
Construction
Ease of use
Packaging
A specific use case
Then decide how to show it visually.
If the USP is thickness, capture a side profile and macro details.
If it is portability, show the product fitting inside a realistic bag or travel setup.
If it is mixability, photograph the preparation process and finished result.
Do not rely on text to explain something the photography can prove instantly.
Understand the Customer

The target customer affects:
Model selection
Wardrobe
Location
Props
Lighting
Mood
Activities
Styling
A premium skincare product should not be styled like a low-cost household product. A performance supplement should not use the same setting as a nighttime relaxation product.
The right shopper should recognize themselves in the scene.
List the Shopper’s Questions

Build the shot list around real buying questions:
How big is it?
What is included?
How do I use it?
Will it fit?
What does the texture look like?
How many servings are there?
Is it travel-friendly?
What arrives in the box?
How does it look when worn?
Every important question should have a visual answer somewhere in the shoot.
Decide Where the Assets Will Be Used

Plan for more than the Amazon gallery.
Your images may also be needed for:
Main image
Gallery images
A+ Content
Premium A+ Content
Brand Story
Storefront
Sponsored ads
Website
Email
Social media
Retail presentations
Ask for multiple versions of important scenes:
Tight
Medium
Wide
Square
Horizontal
Vertical
Negative space on the left
Negative space on the right
A beautiful vertical photo may be useless inside a wide A+ banner.
The Amazon Product Photography Shot List
Every product needs a customized plan, but this is the framework I use.
1. Clean Studio Images

Capture:
Front
Back
Both sides
Three-quarter angle
Top and bottom
Packaging open and closed
Product outside the packaging
Everything included
Every important variation
The full product lineup
Do not capture only one front-facing image.
Your designer may need different angles for the gallery, A+ Content, Storefront, comparison graphics, and ads.
2. Main-Image Assets

The photographer may not create the final Amazon main image, but they should provide the assets needed to build several concepts.
Capture:
A high-resolution isolated product
Product and packaging together
All included bundle items
Product pieces, capsules, gummies, or accessories
Straight-on and three-quarter arrangements
Multiple compositions worth testing
The main image gets the click, so one basic packshot is rarely enough.
The main image gets the click, so one basic packshot is rarely enough. Your shoot should give the creative team multiple product arrangements, angles, and supporting elements worth testing. For the full CTR strategy, read my Amazon Main Image Optimization Guide.
3. Product-in-Use Images

Show the product doing its job.
Depending on the product, that might include:
Mixing
Applying
Wearing
Installing
Packing
Opening
Drinking
Eating
Cleaning
Storing
Demonstrating a feature
A model smiling while holding the package is not automatically useful.
The action should teach the shopper something.
4. Lifestyle Photography

Product-in-use photography shows how it works.
Lifestyle photography shows how it fits into the customer’s life.
For example, one photo might show someone preparing a supplement. Another might show them enjoying it during a morning routine.
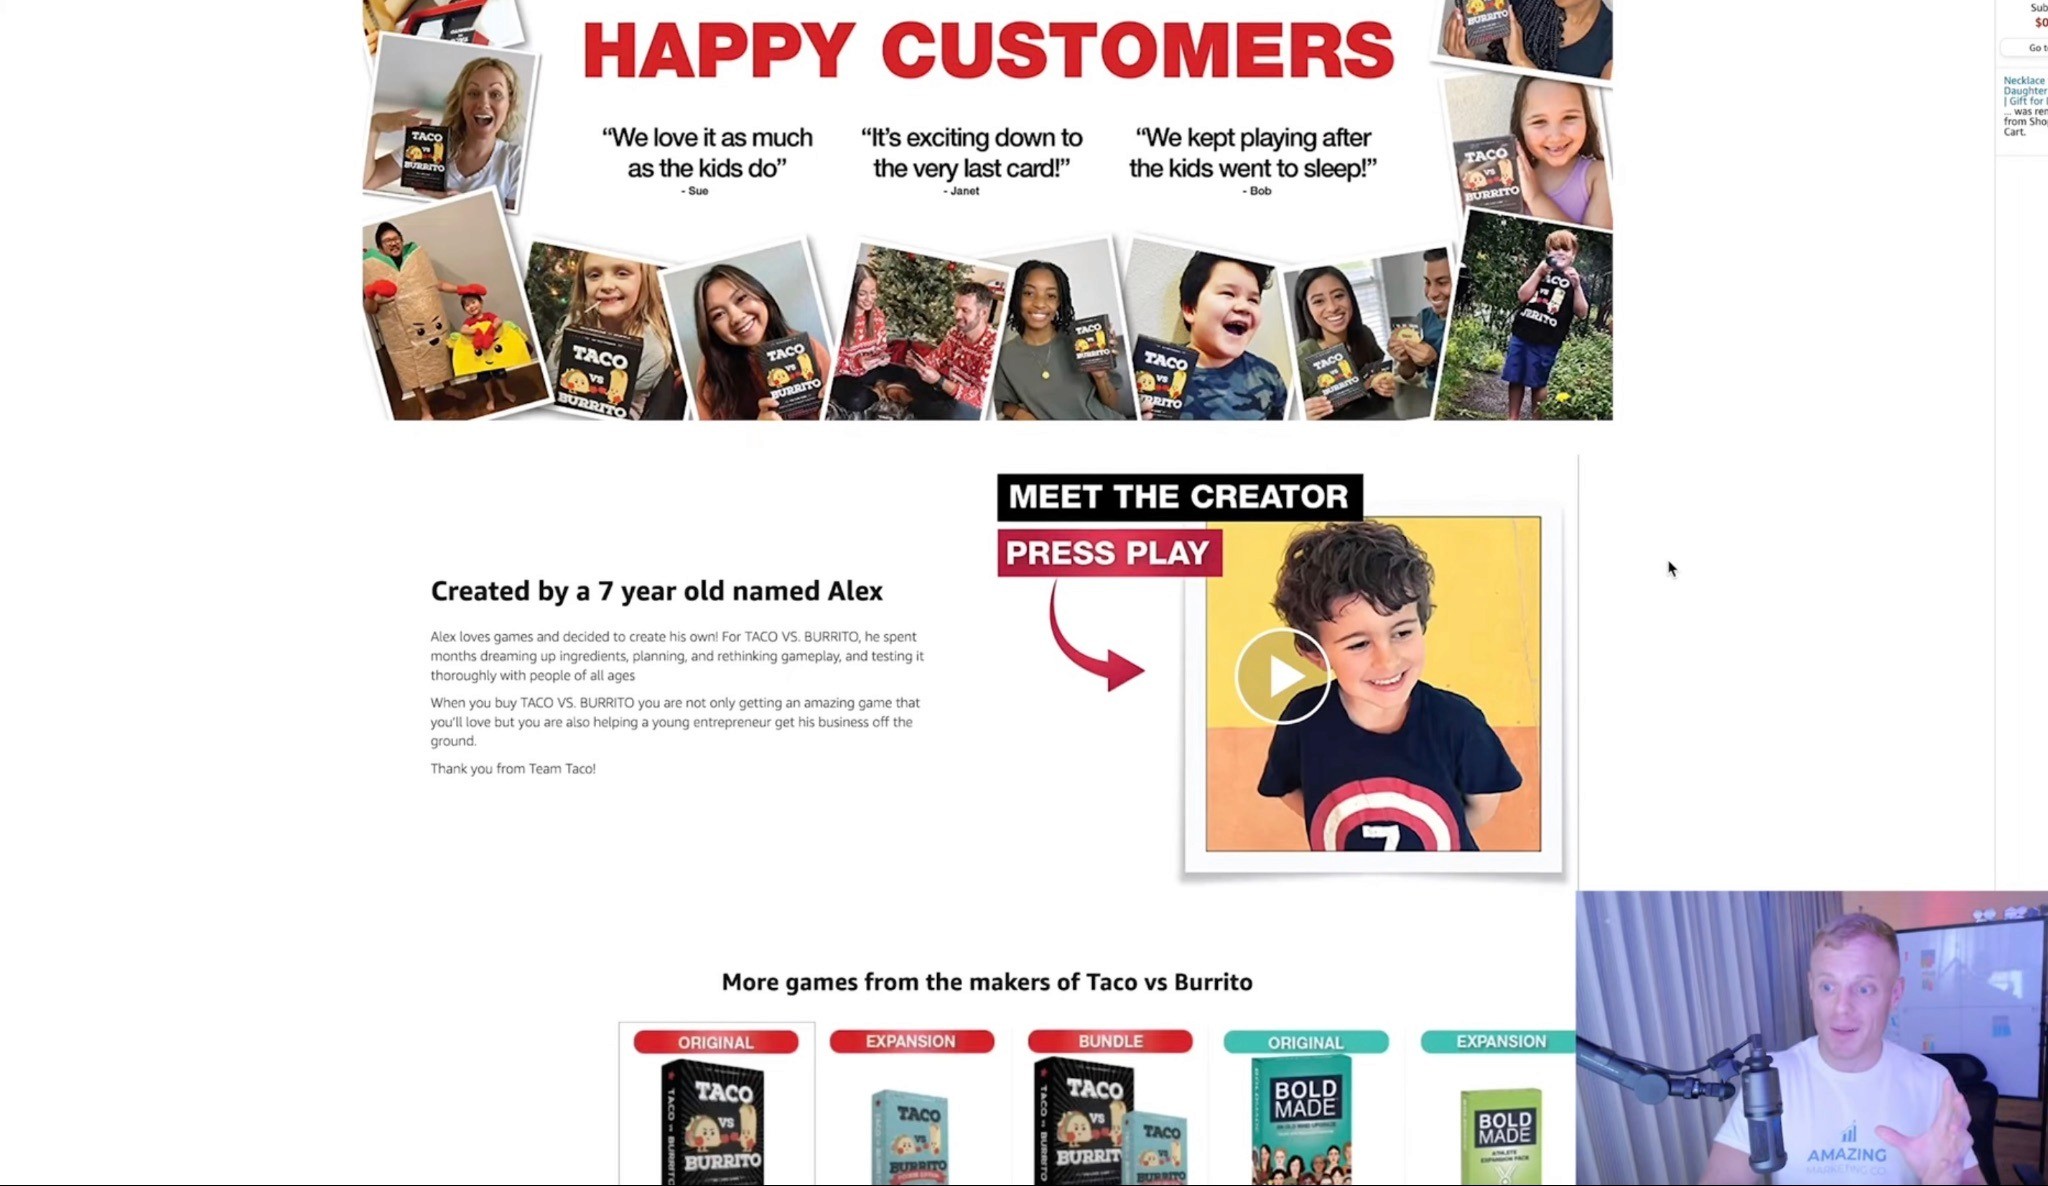
Strong Amazon creative usually benefits from both studio photography and real-life lifestyle scenes with relevant models.
5. Close-Ups and Texture

Capture details such as:
Fabric
Stitching
Surface finish
Powder texture
Gummies or capsules
Liquid consistency
Zippers
Fasteners
Ports
Handles
Labels
Seals
Packaging material
Product thickness
These shots help replace the physical inspection shoppers cannot perform online.
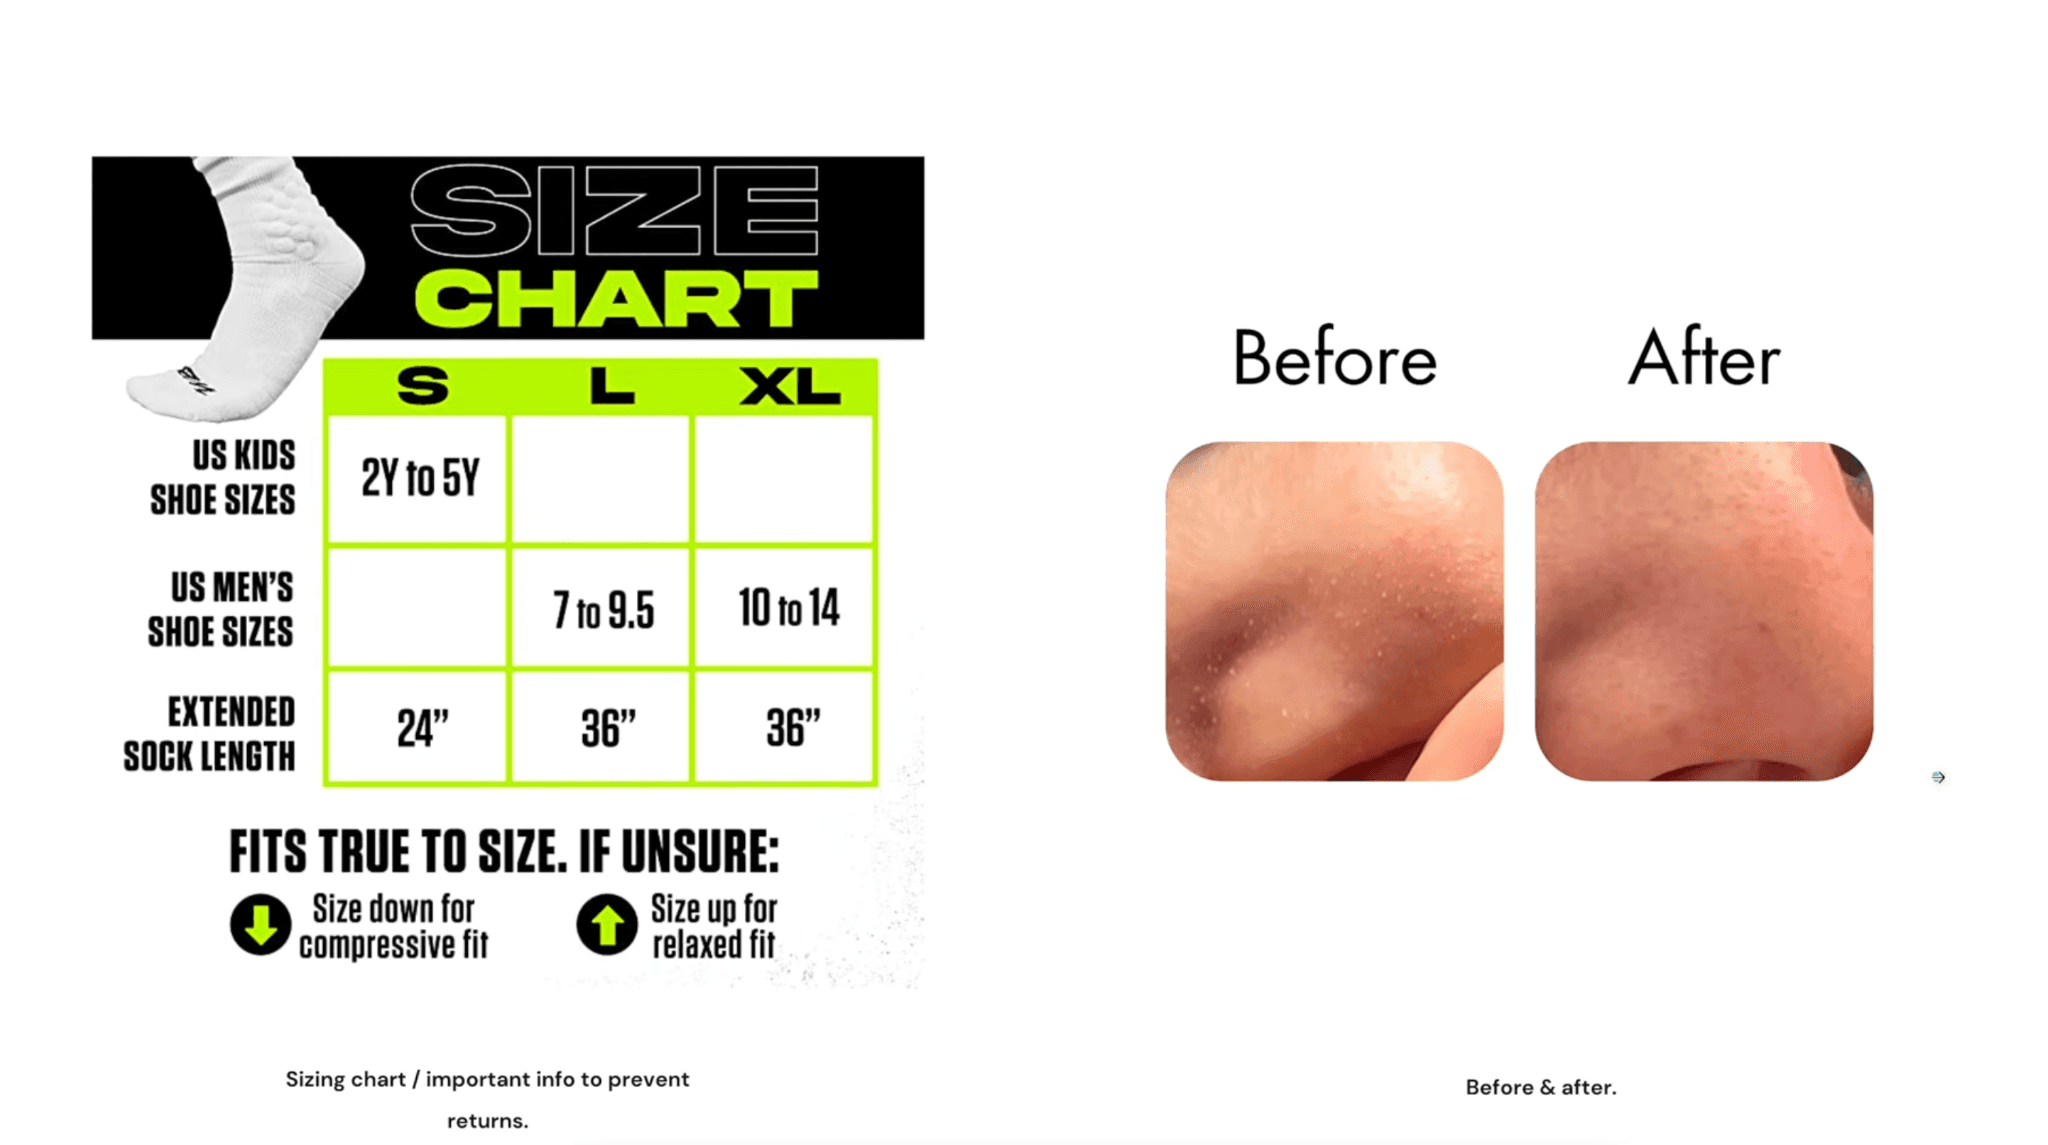
6. Scale and Dimensions

Show the product:
In a hand
Beside a familiar object
Inside a bag or cupboard
Being worn
In the intended room
Beside a measuring tape
Next to other available sizes
Do not rely only on written measurements.
Be careful with camera perspective. A wide-angle lens placed too close can make the product look misleadingly large.
7. Packaging and Unboxing

Capture:
Outer packaging
Inner packaging
Product inside the box
Seals
Inserts
Instructions
Accessories
Bundle contents
The package being opened
This answers a simple but important question:
What exactly will arrive?
8. How-to Sequences

Photograph the full process consistently:
Product before use
Setup or preparation
Product being used
Completed result
Storage or cleanup
Keep the lighting, angle, model position, and product orientation consistent between steps.
This makes it far easier to build a clean instructional gallery image later.
9. Ingredients, Materials, and Components

When ingredients or construction help differentiate the product, capture them separately.
Examples include:
Raw ingredients
Finished product beside ingredients
Fabric samples
Internal components
Removable parts
Accessories
Bundle pieces
Product lineup
Keep every visual accurate. Do not imply ingredients, quantities, certifications, or accessories that are not actually included.
10. Use Cases
Show the product in multiple useful situations.
The goal is to make shoppers think: “I didn’t realize I could also use it for that.”
Use cases can increase perceived value without adding more text.
Plan the Gallery Sequence First

Do not shoot random scenes and ask the designer to figure everything out afterward.
A sample gallery may look like:
Main image
Main USP
Product in use
Feature close-up
How it works
Scale or dimensions
Lifestyle or use cases
Comparison or trust image
The exact sequence depends on the category, product complexity, price, competition, and objections.
My general rule is:
One main idea per image.
Amazon shoppers skim. The photography should make the message easier to understand, not compete with it.
I use the same principle in his gallery framework: keep the images simple, make the message understandable quickly, and use each image to communicate one clear selling point.
Plan for A+ Content and Storefronts

Capture Wide Hero Images
Photograph the product and models with:
Negative space
Wide environmental framing
Clean backgrounds
Versions with and without props
This gives the designer room for headlines and responsive crops.
Capture Product Lineups
Photograph related products together for:
Storefront navigation
Cross-selling
Comparison modules
Brand Story
Product-family banners
Capture Brand-Level Lifestyle Scenes
Not every photo needs to focus on one SKU.
Create several images that communicate the broader brand identity and customer lifestyle.
Request Multiple Crops
For important scenes, ask for square, vertical, horizontal, tight, medium, and wide versions.
A photo that works in the gallery may not work inside Premium A+ Content.
The more framing options you capture during the shoot, the easier it becomes to build layouts that work across desktop and mobile. For the full module and layout strategy, read my Amazon Premium A+ Content Guide.
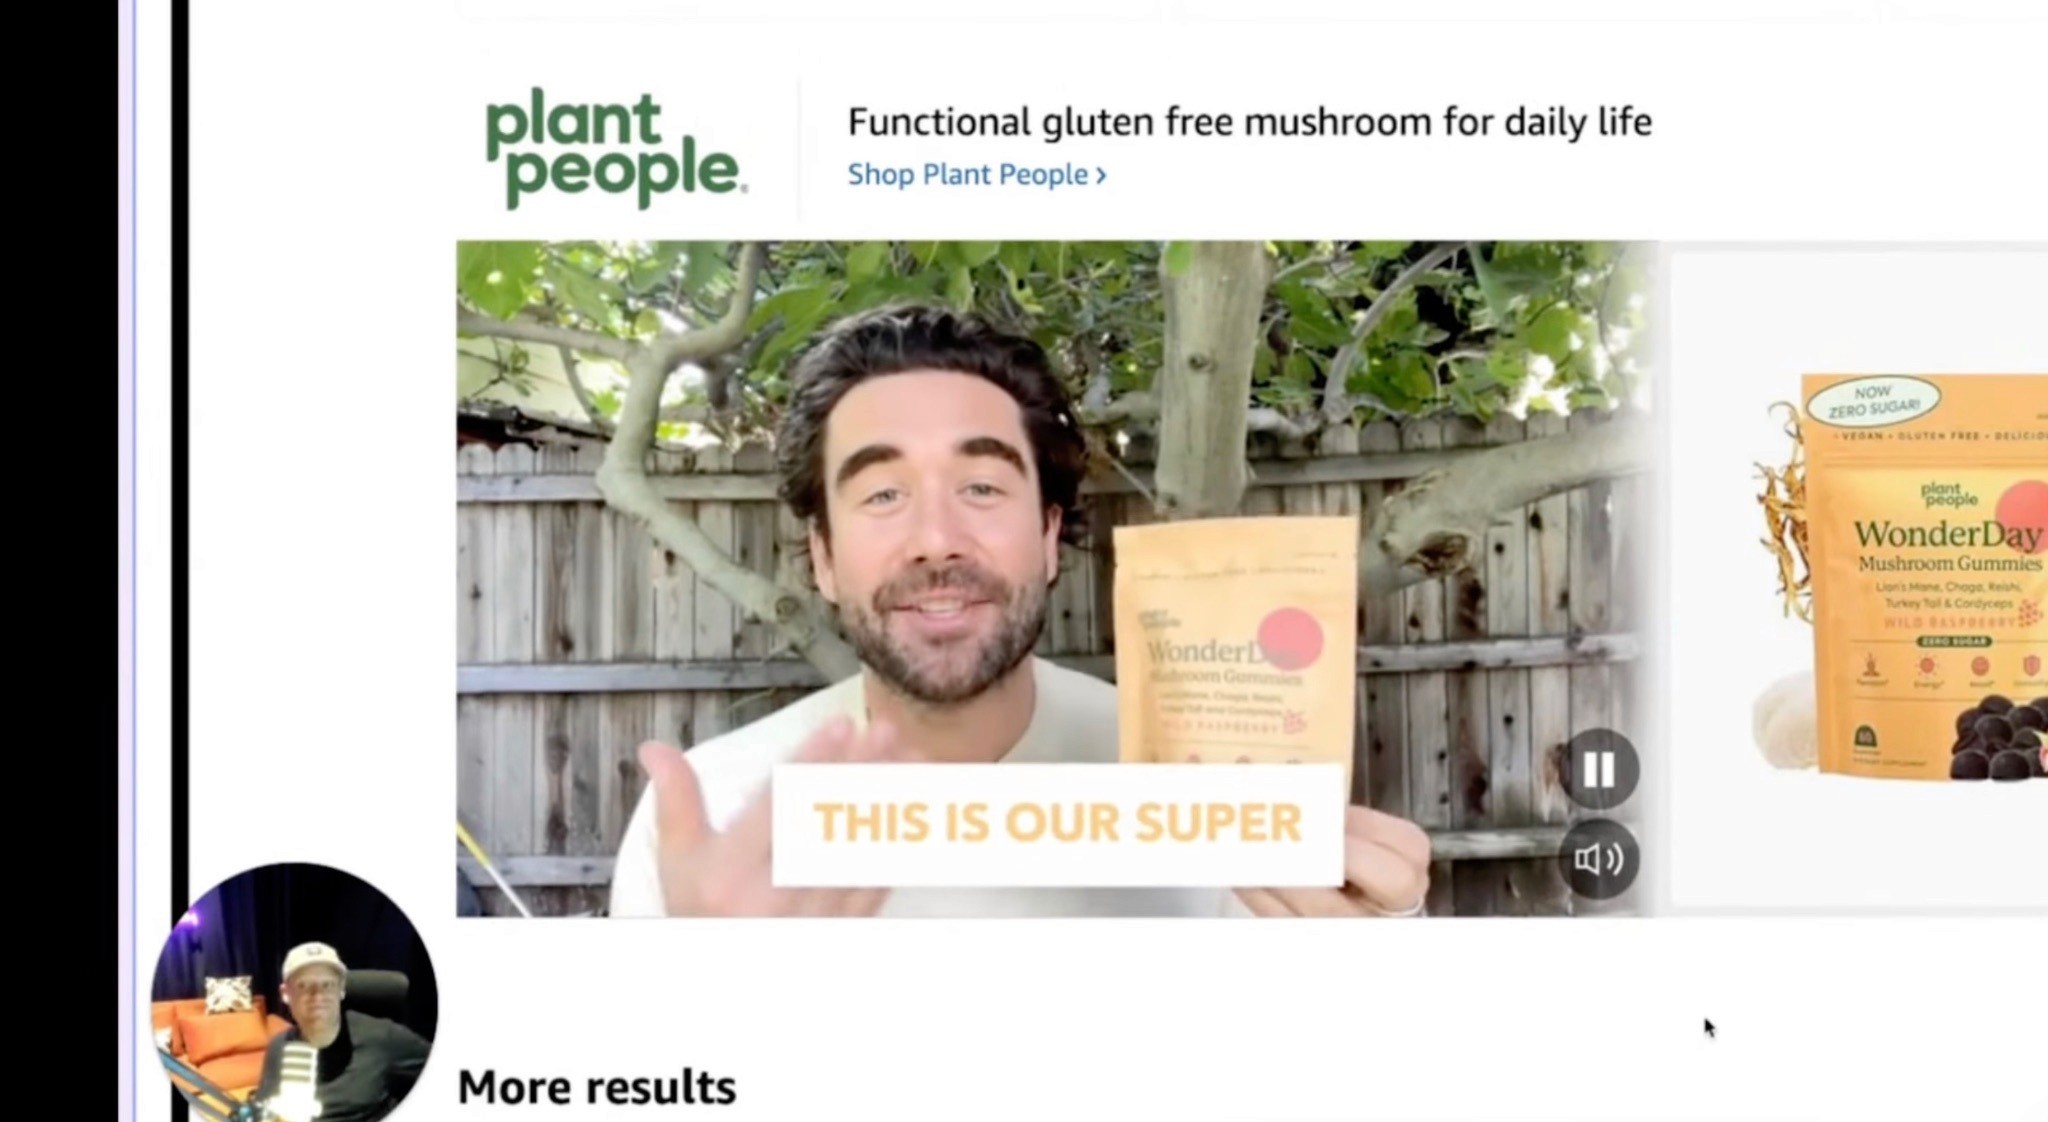
Capture Video During the Same Shoot

If the location, models, lighting, products, and props are already available, record video too.
Capture:
Product handling
Rotating product shots
Close-up movement
Full demonstrations
Opening the package
Pouring, mixing, applying, or assembling
Reactions
Beauty shots
Horizontal and vertical footage
This content can support:
Listing videos
Premium A+ modules
Sponsored Brands Video
Website content
Social media
Advertising
Real Photography vs. AI Product Images

AI product photography can be useful, but I do not treat it as an automatic replacement for foundational real photography.
Real photos are especially important when shoppers need to verify:
Exact shape
Packaging
Scale
Texture
Material
Fit
Color
Product function
What arrives in the package
AI can help with:
Additional backgrounds
Seasonal concepts
Early mockups
Lower-budget lifestyle scenes
Rapid creative testing
Social content
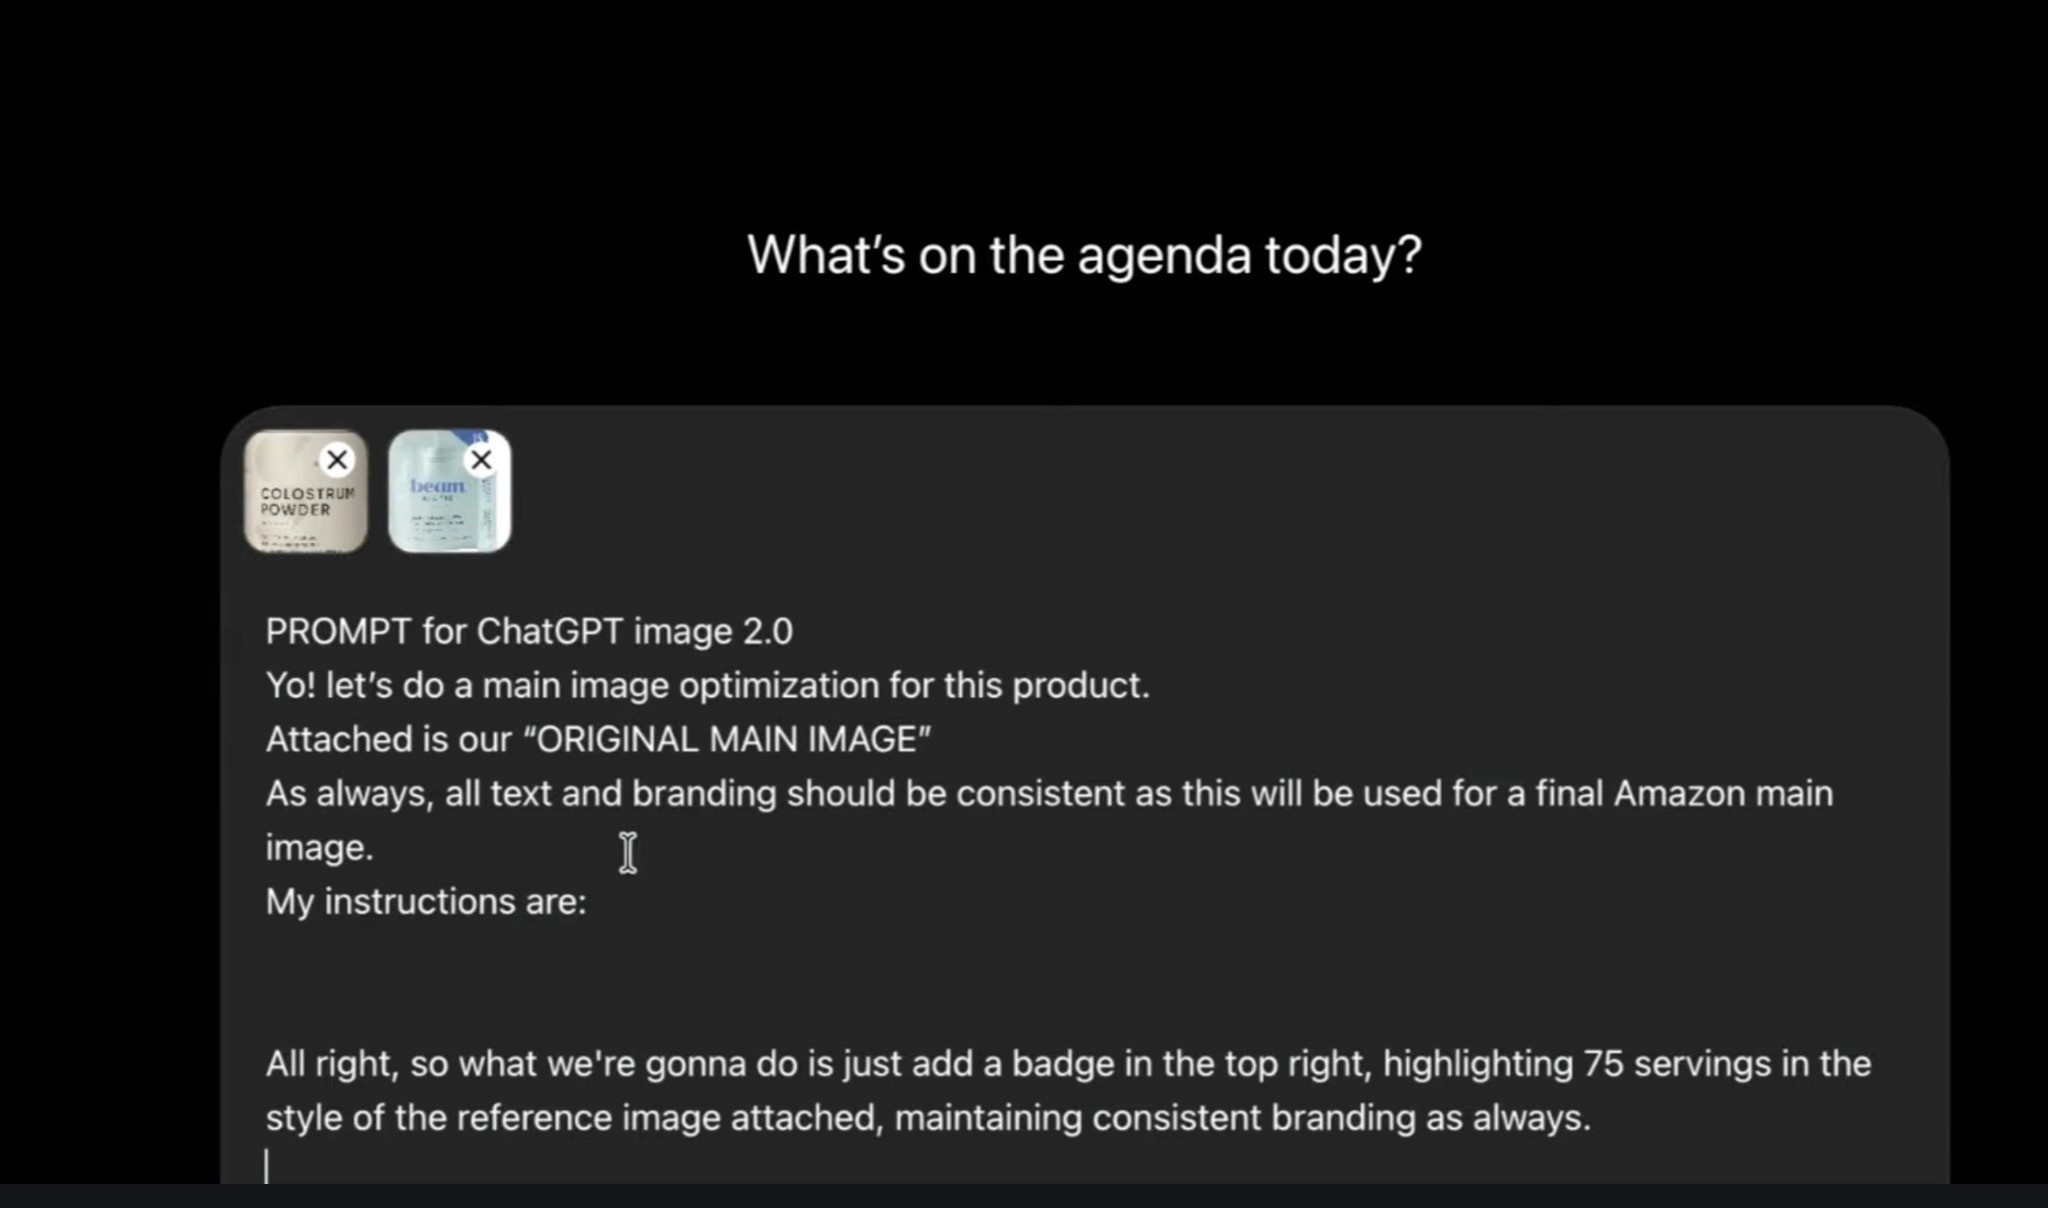
But review every generated image carefully. AI can accidentally alter packaging text, dimensions, labels, ingredients, colors, accessories, shadows, or product functionality.
My preferred approach is:
Use real photography as the foundation. Use AI to extend the asset library where it makes sense.
How to Brief the Photographer
Your brief should cover:
Product Information
Explain what the product does, how it works, its dimensions, variations, materials, package contents, and anything shoppers commonly misunderstand.
Customer Profile
Explain who buys it, why they buy it, where they use it, and what style will feel believable.
USP
Identify the physical features, ingredients, materials, or use cases that need visual emphasis.
Planned Amazon Assets
Share the gallery sequence, A+ Content structure, Storefront needs, and advertising requirements.
Required Shots
Separate shots into:
Essential
Preferred
Optional
Framing
Specify which scenes need square, vertical, horizontal, wide, close, and negative-space versions.
Brand Guidelines
Provide colors, fonts, mood, customer profile, visual references, and examples you dislike.
Deliverables
Confirm:
Final image count
Retouching
Raw image access
Background removal
File formats
Resolution
Delivery date
Revision rounds
Commercial usage rights
Common Product Photography Mistakes
Shooting Without a Strategy
The photos look good but do not communicate the USP or answer buying questions.
Capturing Only Packshots
The team has several product angles but no lifestyle, scale, detail, or demonstration assets.
Using Generic Lifestyle Photos
A person smiling beside the product does not necessarily explain anything useful.
Forgetting Negative Space
Every image is tightly cropped, leaving no room for copy or responsive layouts.
Ignoring Mobile
The key product or action disappears when the image is resized.
Showing the Product Inaccurately
Retouching or AI changes packaging, color, scale, labels, or included items.
Using Misleading Props
The composition makes an accessory appear included when it is not.
Spending Everything on Photography and Nothing on Design
The photoshoot creates assets. It does not automatically create a high-converting listing.
Increasing PPC Before Fixing the Creative
Sending more traffic to a weak listing usually means paying to expose the same weaknesses to more shoppers.
Improve the listing first, confirm that it converts, and then decide whether traffic is the next opportunity.
Amazon Product Photoshoot Checklist
Strategy
Target customer defined
Main USP identified
Competitors reviewed
Shopper objections listed
Gallery planned
A+ and Storefront mapped
Studio Assets
Front, back, sides, top, and three-quarter angles
Product in and out of packaging
All included items
Major variations
Full product lineup
Main-image-ready arrangements
Lifestyle and Use
Product being used correctly
Relevant models
Realistic environment
Primary and secondary use cases
Scale reference
Step-by-step demonstration
Detail Assets
Texture
Materials
Construction
Labels
Packaging
Ingredients
Components
Differentiating features
Flexible Formats
Tight, medium, and wide
Square, vertical, and horizontal
Negative space on both sides
Photo and video versions
Production
Packaging finalized
Model releases signed
Location permission confirmed
Usage rights agreed
File delivery confirmed
Revision rounds confirmed
FAQ
What is Amazon product photography?
Amazon product photography is the creation of studio, lifestyle, close-up, scale, packaging, and demonstration images used to present and sell a product on Amazon.
What photos do I need for Amazon?
At minimum, you need clean product angles, a main-image asset, product-in-use photography, close-ups, scale references, packaging images, and any demonstrations required to explain the product.
Should I use studio or lifestyle photography?
Use both when possible.
Studio photography shows the product clearly. Lifestyle photography shows how it fits into the customer’s life.
Should I plan the listing before the shoot?
Yes. Planning the gallery, A+ Content, Storefront, and advertising first tells the photographer exactly what needs to be captured.
Can I use AI instead of a real photoshoot?
AI can help with selected concepts and supporting scenes, but I prefer real photography when accuracy, scale, texture, packaging, fit, or human interaction matters.
Should I capture video during the shoot?
Yes. You already have the set, lighting, models, props, and product available, so it is one of the most efficient times to capture video.
Does professional photography guarantee higher conversion?
No. Photography is one part of the larger conversion system, alongside price, reviews, offer, positioning, copy, and product quality.
Summary
Your Amazon photoshoot should begin with strategy, not a camera.
Identify the customer.
Define the USP.
Study the competition.
List the shopper’s questions.
Plan the gallery, A+ Content, Storefront, and video requirements.
Then create the shot list.
Capture the product in the studio, in use, in real life, up close, at scale, and inside its packaging. Request multiple crops and orientations. Record video while the set is already active.
Most importantly, remember:
The photoshoot creates the assets. The listing design turns those assets into a sales system.
When both are planned together, you get more than attractive product photos.
You get a visual library that helps shoppers understand the product, trust the brand, and feel confident placing the order.
Need Amazon Photography Planned for Conversion?
A product shoot should give you more than a folder of attractive photos.
It should give your creative team everything needed to build a stronger main image, gallery, A+ Content, Storefront, video content, and advertising creative.
That is where AmazingCreative comes in.
We plan Amazon product photography around your customer, USP, listing strategy, and wider creative needs. That means deciding what should be photographed, how each scene should be framed, which product details matter most, and how the final assets will be used across your Amazon page.
Once the shoot is complete, our team can also turn those assets into a complete conversion-focused Amazon creative system.
Explore Our Amazon Product Photoshoot Service
Or book an Amazon creative strategy call and we’ll help you identify what your current photography is missing.
Amazon Sponsored Brands Video Ads Guide: Creative Strategy, Hooks, and Examples
Build the assets before you build the listing.

Your Amazon product photoshoot is not just about getting a few clean pictures of the packaging.
It creates the raw material for your main image, gallery images, A+ Content, Storefront, videos, ads, website, and social content.
That is why I call photography the bedrock of the brand.
A good shoot gives your creative team assets they can use for years. A badly planned shoot usually gives them six similar packshots, one generic lifestyle photo, and nothing they actually need to sell the product.
The mistake is not always poor photography. It is planning the shoot without first deciding what the Amazon listing needs to communicate.
In this guide, I’ll show you how I plan an Amazon product photoshoot around the shopper, the product’s USP, and the listing we need to build afterward.
Quick Answer: How Do You Plan an Amazon Product Photoshoot?
Start by identifying:
The product’s main USP
The target customer
The questions shoppers need answered
The gallery images you plan to create
The A+ Content and Storefront assets you need
The formats required for Amazon, social media, ads, and your website
Then create a shot list covering:
Clean studio images
Product angles
Product-in-use scenes
Lifestyle photography
Close-ups and texture
Scale and dimensions
Packaging and unboxing
How-to sequences
Ingredients, materials, or components
Horizontal, vertical, square, tight, and wide compositions
Video footage captured during the same shoot
The goal is not simply to make the product look attractive.
The goal is to create a visual library that helps shoppers understand the product, trust the brand, and feel confident buying it.
Product Photography and Listing Design Are Different

Photography creates the raw visual assets.
Listing design turns those assets into sales creative.
A photographer may deliver a clean product photo, a model holding it, a packaging close-up, and several lifestyle scenes.
Your Amazon creative team then turns those assets into:
A main image
Benefit-focused gallery images
Feature callouts
Comparison graphics
How-to images
A+ Content
Storefront banners
Video thumbnails
Advertising creative
That is why the production order should normally be:
Branding → Packaging → Photoshoot → Video → Listing Design → Storefront
Your branding and packaging should be finalized before the shoot. Otherwise, you may pay for photography that becomes outdated as soon as the label or packaging changes.
My broader launch framework also places professional photography before the listing design because it becomes the visual foundation for the Amazon page and the wider brand.
Photography gives your team the raw materials, but those assets still need to be organized around the shopper’s questions, objections, and buying priorities. I explain that full-page process in my Amazon Listing Optimization Guide for Higher Conversion Rates.
Why Amazon Product Photography Matters

Amazon shoppers cannot inspect the product physically.
They cannot feel the material, compare its scale, examine the packaging, test the texture, or see how it works in real life.
Your photography needs to answer those questions.
Strong product photos help shoppers understand:
What they are buying
What is included
How large it is
How it is used
Who it is designed for
What the material or texture looks like
How it fits into real life
Why it may be worth the price
Photography alone does not determine conversion rate. Price, reviews, rating, delivery, copy, offer, positioning, and traffic quality still matter.
But weak photography limits everything your designers can do.
When I audit a listing and see no lifestyle photography, demonstrations, close-ups, or scale references, the shopper is being asked to imagine too much.
I break down this full creative framework in my Amazon FBA Listing Optimization Masterclass, including why professional photography, real product-in-use scenes, and close-up shots form the foundation of a stronger Amazon page.
Plan the Listing Before the Shoot
Do not begin by asking what kind of photos would look cool.
Ask: “What does the shopper need to see before buying this product?”
Identify the USP

What is the clearest reason someone should choose your product over the alternatives?
It may be:
Size
Quantity
Material
Texture
Ingredients
Portability
Construction
Ease of use
Packaging
A specific use case
Then decide how to show it visually.
If the USP is thickness, capture a side profile and macro details.
If it is portability, show the product fitting inside a realistic bag or travel setup.
If it is mixability, photograph the preparation process and finished result.
Do not rely on text to explain something the photography can prove instantly.
Understand the Customer

The target customer affects:
Model selection
Wardrobe
Location
Props
Lighting
Mood
Activities
Styling
A premium skincare product should not be styled like a low-cost household product. A performance supplement should not use the same setting as a nighttime relaxation product.
The right shopper should recognize themselves in the scene.
List the Shopper’s Questions

Build the shot list around real buying questions:
How big is it?
What is included?
How do I use it?
Will it fit?
What does the texture look like?
How many servings are there?
Is it travel-friendly?
What arrives in the box?
How does it look when worn?
Every important question should have a visual answer somewhere in the shoot.
Decide Where the Assets Will Be Used

Plan for more than the Amazon gallery.
Your images may also be needed for:
Main image
Gallery images
A+ Content
Premium A+ Content
Brand Story
Storefront
Sponsored ads
Website
Email
Social media
Retail presentations
Ask for multiple versions of important scenes:
Tight
Medium
Wide
Square
Horizontal
Vertical
Negative space on the left
Negative space on the right
A beautiful vertical photo may be useless inside a wide A+ banner.
The Amazon Product Photography Shot List
Every product needs a customized plan, but this is the framework I use.
1. Clean Studio Images

Capture:
Front
Back
Both sides
Three-quarter angle
Top and bottom
Packaging open and closed
Product outside the packaging
Everything included
Every important variation
The full product lineup
Do not capture only one front-facing image.
Your designer may need different angles for the gallery, A+ Content, Storefront, comparison graphics, and ads.
2. Main-Image Assets

The photographer may not create the final Amazon main image, but they should provide the assets needed to build several concepts.
Capture:
A high-resolution isolated product
Product and packaging together
All included bundle items
Product pieces, capsules, gummies, or accessories
Straight-on and three-quarter arrangements
Multiple compositions worth testing
The main image gets the click, so one basic packshot is rarely enough.
The main image gets the click, so one basic packshot is rarely enough. Your shoot should give the creative team multiple product arrangements, angles, and supporting elements worth testing. For the full CTR strategy, read my Amazon Main Image Optimization Guide.
3. Product-in-Use Images

Show the product doing its job.
Depending on the product, that might include:
Mixing
Applying
Wearing
Installing
Packing
Opening
Drinking
Eating
Cleaning
Storing
Demonstrating a feature
A model smiling while holding the package is not automatically useful.
The action should teach the shopper something.
4. Lifestyle Photography

Product-in-use photography shows how it works.
Lifestyle photography shows how it fits into the customer’s life.
For example, one photo might show someone preparing a supplement. Another might show them enjoying it during a morning routine.
Strong Amazon creative usually benefits from both studio photography and real-life lifestyle scenes with relevant models.
5. Close-Ups and Texture

Capture details such as:
Fabric
Stitching
Surface finish
Powder texture
Gummies or capsules
Liquid consistency
Zippers
Fasteners
Ports
Handles
Labels
Seals
Packaging material
Product thickness
These shots help replace the physical inspection shoppers cannot perform online.
6. Scale and Dimensions

Show the product:
In a hand
Beside a familiar object
Inside a bag or cupboard
Being worn
In the intended room
Beside a measuring tape
Next to other available sizes
Do not rely only on written measurements.
Be careful with camera perspective. A wide-angle lens placed too close can make the product look misleadingly large.
7. Packaging and Unboxing

Capture:
Outer packaging
Inner packaging
Product inside the box
Seals
Inserts
Instructions
Accessories
Bundle contents
The package being opened
This answers a simple but important question:
What exactly will arrive?
8. How-to Sequences

Photograph the full process consistently:
Product before use
Setup or preparation
Product being used
Completed result
Storage or cleanup
Keep the lighting, angle, model position, and product orientation consistent between steps.
This makes it far easier to build a clean instructional gallery image later.
9. Ingredients, Materials, and Components

When ingredients or construction help differentiate the product, capture them separately.
Examples include:
Raw ingredients
Finished product beside ingredients
Fabric samples
Internal components
Removable parts
Accessories
Bundle pieces
Product lineup
Keep every visual accurate. Do not imply ingredients, quantities, certifications, or accessories that are not actually included.
10. Use Cases
Show the product in multiple useful situations.
The goal is to make shoppers think: “I didn’t realize I could also use it for that.”
Use cases can increase perceived value without adding more text.
Plan the Gallery Sequence First

Do not shoot random scenes and ask the designer to figure everything out afterward.
A sample gallery may look like:
Main image
Main USP
Product in use
Feature close-up
How it works
Scale or dimensions
Lifestyle or use cases
Comparison or trust image
The exact sequence depends on the category, product complexity, price, competition, and objections.
My general rule is:
One main idea per image.
Amazon shoppers skim. The photography should make the message easier to understand, not compete with it.
I use the same principle in his gallery framework: keep the images simple, make the message understandable quickly, and use each image to communicate one clear selling point.
Plan for A+ Content and Storefronts

Capture Wide Hero Images
Photograph the product and models with:
Negative space
Wide environmental framing
Clean backgrounds
Versions with and without props
This gives the designer room for headlines and responsive crops.
Capture Product Lineups
Photograph related products together for:
Storefront navigation
Cross-selling
Comparison modules
Brand Story
Product-family banners
Capture Brand-Level Lifestyle Scenes
Not every photo needs to focus on one SKU.
Create several images that communicate the broader brand identity and customer lifestyle.
Request Multiple Crops
For important scenes, ask for square, vertical, horizontal, tight, medium, and wide versions.
A photo that works in the gallery may not work inside Premium A+ Content.
The more framing options you capture during the shoot, the easier it becomes to build layouts that work across desktop and mobile. For the full module and layout strategy, read my Amazon Premium A+ Content Guide.
Capture Video During the Same Shoot

If the location, models, lighting, products, and props are already available, record video too.
Capture:
Product handling
Rotating product shots
Close-up movement
Full demonstrations
Opening the package
Pouring, mixing, applying, or assembling
Reactions
Beauty shots
Horizontal and vertical footage
This content can support:
Listing videos
Premium A+ modules
Sponsored Brands Video
Website content
Social media
Advertising
Real Photography vs. AI Product Images

AI product photography can be useful, but I do not treat it as an automatic replacement for foundational real photography.
Real photos are especially important when shoppers need to verify:
Exact shape
Packaging
Scale
Texture
Material
Fit
Color
Product function
What arrives in the package
AI can help with:
Additional backgrounds
Seasonal concepts
Early mockups
Lower-budget lifestyle scenes
Rapid creative testing
Social content
But review every generated image carefully. AI can accidentally alter packaging text, dimensions, labels, ingredients, colors, accessories, shadows, or product functionality.
My preferred approach is:
Use real photography as the foundation. Use AI to extend the asset library where it makes sense.
How to Brief the Photographer
Your brief should cover:
Product Information
Explain what the product does, how it works, its dimensions, variations, materials, package contents, and anything shoppers commonly misunderstand.
Customer Profile
Explain who buys it, why they buy it, where they use it, and what style will feel believable.
USP
Identify the physical features, ingredients, materials, or use cases that need visual emphasis.
Planned Amazon Assets
Share the gallery sequence, A+ Content structure, Storefront needs, and advertising requirements.
Required Shots
Separate shots into:
Essential
Preferred
Optional
Framing
Specify which scenes need square, vertical, horizontal, wide, close, and negative-space versions.
Brand Guidelines
Provide colors, fonts, mood, customer profile, visual references, and examples you dislike.
Deliverables
Confirm:
Final image count
Retouching
Raw image access
Background removal
File formats
Resolution
Delivery date
Revision rounds
Commercial usage rights
Common Product Photography Mistakes
Shooting Without a Strategy
The photos look good but do not communicate the USP or answer buying questions.
Capturing Only Packshots
The team has several product angles but no lifestyle, scale, detail, or demonstration assets.
Using Generic Lifestyle Photos
A person smiling beside the product does not necessarily explain anything useful.
Forgetting Negative Space
Every image is tightly cropped, leaving no room for copy or responsive layouts.
Ignoring Mobile
The key product or action disappears when the image is resized.
Showing the Product Inaccurately
Retouching or AI changes packaging, color, scale, labels, or included items.
Using Misleading Props
The composition makes an accessory appear included when it is not.
Spending Everything on Photography and Nothing on Design
The photoshoot creates assets. It does not automatically create a high-converting listing.
Increasing PPC Before Fixing the Creative
Sending more traffic to a weak listing usually means paying to expose the same weaknesses to more shoppers.
Improve the listing first, confirm that it converts, and then decide whether traffic is the next opportunity.
Amazon Product Photoshoot Checklist
Strategy
Target customer defined
Main USP identified
Competitors reviewed
Shopper objections listed
Gallery planned
A+ and Storefront mapped
Studio Assets
Front, back, sides, top, and three-quarter angles
Product in and out of packaging
All included items
Major variations
Full product lineup
Main-image-ready arrangements
Lifestyle and Use
Product being used correctly
Relevant models
Realistic environment
Primary and secondary use cases
Scale reference
Step-by-step demonstration
Detail Assets
Texture
Materials
Construction
Labels
Packaging
Ingredients
Components
Differentiating features
Flexible Formats
Tight, medium, and wide
Square, vertical, and horizontal
Negative space on both sides
Photo and video versions
Production
Packaging finalized
Model releases signed
Location permission confirmed
Usage rights agreed
File delivery confirmed
Revision rounds confirmed
FAQ
What is Amazon product photography?
Amazon product photography is the creation of studio, lifestyle, close-up, scale, packaging, and demonstration images used to present and sell a product on Amazon.
What photos do I need for Amazon?
At minimum, you need clean product angles, a main-image asset, product-in-use photography, close-ups, scale references, packaging images, and any demonstrations required to explain the product.
Should I use studio or lifestyle photography?
Use both when possible.
Studio photography shows the product clearly. Lifestyle photography shows how it fits into the customer’s life.
Should I plan the listing before the shoot?
Yes. Planning the gallery, A+ Content, Storefront, and advertising first tells the photographer exactly what needs to be captured.
Can I use AI instead of a real photoshoot?
AI can help with selected concepts and supporting scenes, but I prefer real photography when accuracy, scale, texture, packaging, fit, or human interaction matters.
Should I capture video during the shoot?
Yes. You already have the set, lighting, models, props, and product available, so it is one of the most efficient times to capture video.
Does professional photography guarantee higher conversion?
No. Photography is one part of the larger conversion system, alongside price, reviews, offer, positioning, copy, and product quality.
Summary
Your Amazon photoshoot should begin with strategy, not a camera.
Identify the customer.
Define the USP.
Study the competition.
List the shopper’s questions.
Plan the gallery, A+ Content, Storefront, and video requirements.
Then create the shot list.
Capture the product in the studio, in use, in real life, up close, at scale, and inside its packaging. Request multiple crops and orientations. Record video while the set is already active.
Most importantly, remember:
The photoshoot creates the assets. The listing design turns those assets into a sales system.
When both are planned together, you get more than attractive product photos.
You get a visual library that helps shoppers understand the product, trust the brand, and feel confident placing the order.
Need Amazon Photography Planned for Conversion?
A product shoot should give you more than a folder of attractive photos.
It should give your creative team everything needed to build a stronger main image, gallery, A+ Content, Storefront, video content, and advertising creative.
That is where AmazingCreative comes in.
We plan Amazon product photography around your customer, USP, listing strategy, and wider creative needs. That means deciding what should be photographed, how each scene should be framed, which product details matter most, and how the final assets will be used across your Amazon page.
Once the shoot is complete, our team can also turn those assets into a complete conversion-focused Amazon creative system.
Explore Our Amazon Product Photoshoot Service
Or book an Amazon creative strategy call and we’ll help you identify what your current photography is missing.
Amazon Product Photography Guide: Plan a Photoshoot That Converts
Build the assets before you build the listing.

Your Amazon product photoshoot is not just about getting a few clean pictures of the packaging.
It creates the raw material for your main image, gallery images, A+ Content, Storefront, videos, ads, website, and social content.
That is why I call photography the bedrock of the brand.
A good shoot gives your creative team assets they can use for years. A badly planned shoot usually gives them six similar packshots, one generic lifestyle photo, and nothing they actually need to sell the product.
The mistake is not always poor photography. It is planning the shoot without first deciding what the Amazon listing needs to communicate.
In this guide, I’ll show you how I plan an Amazon product photoshoot around the shopper, the product’s USP, and the listing we need to build afterward.
Quick Answer: How Do You Plan an Amazon Product Photoshoot?
Start by identifying:
The product’s main USP
The target customer
The questions shoppers need answered
The gallery images you plan to create
The A+ Content and Storefront assets you need
The formats required for Amazon, social media, ads, and your website
Then create a shot list covering:
Clean studio images
Product angles
Product-in-use scenes
Lifestyle photography
Close-ups and texture
Scale and dimensions
Packaging and unboxing
How-to sequences
Ingredients, materials, or components
Horizontal, vertical, square, tight, and wide compositions
Video footage captured during the same shoot
The goal is not simply to make the product look attractive.
The goal is to create a visual library that helps shoppers understand the product, trust the brand, and feel confident buying it.
Product Photography and Listing Design Are Different

Photography creates the raw visual assets.
Listing design turns those assets into sales creative.
A photographer may deliver a clean product photo, a model holding it, a packaging close-up, and several lifestyle scenes.
Your Amazon creative team then turns those assets into:
A main image
Benefit-focused gallery images
Feature callouts
Comparison graphics
How-to images
A+ Content
Storefront banners
Video thumbnails
Advertising creative
That is why the production order should normally be:
Branding → Packaging → Photoshoot → Video → Listing Design → Storefront
Your branding and packaging should be finalized before the shoot. Otherwise, you may pay for photography that becomes outdated as soon as the label or packaging changes.
My broader launch framework also places professional photography before the listing design because it becomes the visual foundation for the Amazon page and the wider brand.
Photography gives your team the raw materials, but those assets still need to be organized around the shopper’s questions, objections, and buying priorities. I explain that full-page process in my Amazon Listing Optimization Guide for Higher Conversion Rates.
Why Amazon Product Photography Matters

Amazon shoppers cannot inspect the product physically.
They cannot feel the material, compare its scale, examine the packaging, test the texture, or see how it works in real life.
Your photography needs to answer those questions.
Strong product photos help shoppers understand:
What they are buying
What is included
How large it is
How it is used
Who it is designed for
What the material or texture looks like
How it fits into real life
Why it may be worth the price
Photography alone does not determine conversion rate. Price, reviews, rating, delivery, copy, offer, positioning, and traffic quality still matter.
But weak photography limits everything your designers can do.
When I audit a listing and see no lifestyle photography, demonstrations, close-ups, or scale references, the shopper is being asked to imagine too much.
I break down this full creative framework in my Amazon FBA Listing Optimization Masterclass, including why professional photography, real product-in-use scenes, and close-up shots form the foundation of a stronger Amazon page.
Plan the Listing Before the Shoot
Do not begin by asking what kind of photos would look cool.
Ask: “What does the shopper need to see before buying this product?”
Identify the USP

What is the clearest reason someone should choose your product over the alternatives?
It may be:
Size
Quantity
Material
Texture
Ingredients
Portability
Construction
Ease of use
Packaging
A specific use case
Then decide how to show it visually.
If the USP is thickness, capture a side profile and macro details.
If it is portability, show the product fitting inside a realistic bag or travel setup.
If it is mixability, photograph the preparation process and finished result.
Do not rely on text to explain something the photography can prove instantly.
Understand the Customer

The target customer affects:
Model selection
Wardrobe
Location
Props
Lighting
Mood
Activities
Styling
A premium skincare product should not be styled like a low-cost household product. A performance supplement should not use the same setting as a nighttime relaxation product.
The right shopper should recognize themselves in the scene.
List the Shopper’s Questions

Build the shot list around real buying questions:
How big is it?
What is included?
How do I use it?
Will it fit?
What does the texture look like?
How many servings are there?
Is it travel-friendly?
What arrives in the box?
How does it look when worn?
Every important question should have a visual answer somewhere in the shoot.
Decide Where the Assets Will Be Used

Plan for more than the Amazon gallery.
Your images may also be needed for:
Main image
Gallery images
A+ Content
Premium A+ Content
Brand Story
Storefront
Sponsored ads
Website
Email
Social media
Retail presentations
Ask for multiple versions of important scenes:
Tight
Medium
Wide
Square
Horizontal
Vertical
Negative space on the left
Negative space on the right
A beautiful vertical photo may be useless inside a wide A+ banner.
The Amazon Product Photography Shot List
Every product needs a customized plan, but this is the framework I use.
1. Clean Studio Images

Capture:
Front
Back
Both sides
Three-quarter angle
Top and bottom
Packaging open and closed
Product outside the packaging
Everything included
Every important variation
The full product lineup
Do not capture only one front-facing image.
Your designer may need different angles for the gallery, A+ Content, Storefront, comparison graphics, and ads.
2. Main-Image Assets

The photographer may not create the final Amazon main image, but they should provide the assets needed to build several concepts.
Capture:
A high-resolution isolated product
Product and packaging together
All included bundle items
Product pieces, capsules, gummies, or accessories
Straight-on and three-quarter arrangements
Multiple compositions worth testing
The main image gets the click, so one basic packshot is rarely enough.
The main image gets the click, so one basic packshot is rarely enough. Your shoot should give the creative team multiple product arrangements, angles, and supporting elements worth testing. For the full CTR strategy, read my Amazon Main Image Optimization Guide.
3. Product-in-Use Images

Show the product doing its job.
Depending on the product, that might include:
Mixing
Applying
Wearing
Installing
Packing
Opening
Drinking
Eating
Cleaning
Storing
Demonstrating a feature
A model smiling while holding the package is not automatically useful.
The action should teach the shopper something.
4. Lifestyle Photography

Product-in-use photography shows how it works.
Lifestyle photography shows how it fits into the customer’s life.
For example, one photo might show someone preparing a supplement. Another might show them enjoying it during a morning routine.
Strong Amazon creative usually benefits from both studio photography and real-life lifestyle scenes with relevant models.
5. Close-Ups and Texture

Capture details such as:
Fabric
Stitching
Surface finish
Powder texture
Gummies or capsules
Liquid consistency
Zippers
Fasteners
Ports
Handles
Labels
Seals
Packaging material
Product thickness
These shots help replace the physical inspection shoppers cannot perform online.
6. Scale and Dimensions

Show the product:
In a hand
Beside a familiar object
Inside a bag or cupboard
Being worn
In the intended room
Beside a measuring tape
Next to other available sizes
Do not rely only on written measurements.
Be careful with camera perspective. A wide-angle lens placed too close can make the product look misleadingly large.
7. Packaging and Unboxing

Capture:
Outer packaging
Inner packaging
Product inside the box
Seals
Inserts
Instructions
Accessories
Bundle contents
The package being opened
This answers a simple but important question:
What exactly will arrive?
8. How-to Sequences

Photograph the full process consistently:
Product before use
Setup or preparation
Product being used
Completed result
Storage or cleanup
Keep the lighting, angle, model position, and product orientation consistent between steps.
This makes it far easier to build a clean instructional gallery image later.
9. Ingredients, Materials, and Components

When ingredients or construction help differentiate the product, capture them separately.
Examples include:
Raw ingredients
Finished product beside ingredients
Fabric samples
Internal components
Removable parts
Accessories
Bundle pieces
Product lineup
Keep every visual accurate. Do not imply ingredients, quantities, certifications, or accessories that are not actually included.
10. Use Cases
Show the product in multiple useful situations.
The goal is to make shoppers think: “I didn’t realize I could also use it for that.”
Use cases can increase perceived value without adding more text.
Plan the Gallery Sequence First

Do not shoot random scenes and ask the designer to figure everything out afterward.
A sample gallery may look like:
Main image
Main USP
Product in use
Feature close-up
How it works
Scale or dimensions
Lifestyle or use cases
Comparison or trust image
The exact sequence depends on the category, product complexity, price, competition, and objections.
My general rule is:
One main idea per image.
Amazon shoppers skim. The photography should make the message easier to understand, not compete with it.
I use the same principle in his gallery framework: keep the images simple, make the message understandable quickly, and use each image to communicate one clear selling point.
Plan for A+ Content and Storefronts

Capture Wide Hero Images
Photograph the product and models with:
Negative space
Wide environmental framing
Clean backgrounds
Versions with and without props
This gives the designer room for headlines and responsive crops.
Capture Product Lineups
Photograph related products together for:
Storefront navigation
Cross-selling
Comparison modules
Brand Story
Product-family banners
Capture Brand-Level Lifestyle Scenes
Not every photo needs to focus on one SKU.
Create several images that communicate the broader brand identity and customer lifestyle.
Request Multiple Crops
For important scenes, ask for square, vertical, horizontal, tight, medium, and wide versions.
A photo that works in the gallery may not work inside Premium A+ Content.
The more framing options you capture during the shoot, the easier it becomes to build layouts that work across desktop and mobile. For the full module and layout strategy, read my Amazon Premium A+ Content Guide.
Capture Video During the Same Shoot

If the location, models, lighting, products, and props are already available, record video too.
Capture:
Product handling
Rotating product shots
Close-up movement
Full demonstrations
Opening the package
Pouring, mixing, applying, or assembling
Reactions
Beauty shots
Horizontal and vertical footage
This content can support:
Listing videos
Premium A+ modules
Sponsored Brands Video
Website content
Social media
Advertising
Real Photography vs. AI Product Images

AI product photography can be useful, but I do not treat it as an automatic replacement for foundational real photography.
Real photos are especially important when shoppers need to verify:
Exact shape
Packaging
Scale
Texture
Material
Fit
Color
Product function
What arrives in the package
AI can help with:
Additional backgrounds
Seasonal concepts
Early mockups
Lower-budget lifestyle scenes
Rapid creative testing
Social content
But review every generated image carefully. AI can accidentally alter packaging text, dimensions, labels, ingredients, colors, accessories, shadows, or product functionality.
My preferred approach is:
Use real photography as the foundation. Use AI to extend the asset library where it makes sense.
How to Brief the Photographer
Your brief should cover:
Product Information
Explain what the product does, how it works, its dimensions, variations, materials, package contents, and anything shoppers commonly misunderstand.
Customer Profile
Explain who buys it, why they buy it, where they use it, and what style will feel believable.
USP
Identify the physical features, ingredients, materials, or use cases that need visual emphasis.
Planned Amazon Assets
Share the gallery sequence, A+ Content structure, Storefront needs, and advertising requirements.
Required Shots
Separate shots into:
Essential
Preferred
Optional
Framing
Specify which scenes need square, vertical, horizontal, wide, close, and negative-space versions.
Brand Guidelines
Provide colors, fonts, mood, customer profile, visual references, and examples you dislike.
Deliverables
Confirm:
Final image count
Retouching
Raw image access
Background removal
File formats
Resolution
Delivery date
Revision rounds
Commercial usage rights
Common Product Photography Mistakes
Shooting Without a Strategy
The photos look good but do not communicate the USP or answer buying questions.
Capturing Only Packshots
The team has several product angles but no lifestyle, scale, detail, or demonstration assets.
Using Generic Lifestyle Photos
A person smiling beside the product does not necessarily explain anything useful.
Forgetting Negative Space
Every image is tightly cropped, leaving no room for copy or responsive layouts.
Ignoring Mobile
The key product or action disappears when the image is resized.
Showing the Product Inaccurately
Retouching or AI changes packaging, color, scale, labels, or included items.
Using Misleading Props
The composition makes an accessory appear included when it is not.
Spending Everything on Photography and Nothing on Design
The photoshoot creates assets. It does not automatically create a high-converting listing.
Increasing PPC Before Fixing the Creative
Sending more traffic to a weak listing usually means paying to expose the same weaknesses to more shoppers.
Improve the listing first, confirm that it converts, and then decide whether traffic is the next opportunity.
Amazon Product Photoshoot Checklist
Strategy
Target customer defined
Main USP identified
Competitors reviewed
Shopper objections listed
Gallery planned
A+ and Storefront mapped
Studio Assets
Front, back, sides, top, and three-quarter angles
Product in and out of packaging
All included items
Major variations
Full product lineup
Main-image-ready arrangements
Lifestyle and Use
Product being used correctly
Relevant models
Realistic environment
Primary and secondary use cases
Scale reference
Step-by-step demonstration
Detail Assets
Texture
Materials
Construction
Labels
Packaging
Ingredients
Components
Differentiating features
Flexible Formats
Tight, medium, and wide
Square, vertical, and horizontal
Negative space on both sides
Photo and video versions
Production
Packaging finalized
Model releases signed
Location permission confirmed
Usage rights agreed
File delivery confirmed
Revision rounds confirmed
FAQ
What is Amazon product photography?
Amazon product photography is the creation of studio, lifestyle, close-up, scale, packaging, and demonstration images used to present and sell a product on Amazon.
What photos do I need for Amazon?
At minimum, you need clean product angles, a main-image asset, product-in-use photography, close-ups, scale references, packaging images, and any demonstrations required to explain the product.
Should I use studio or lifestyle photography?
Use both when possible.
Studio photography shows the product clearly. Lifestyle photography shows how it fits into the customer’s life.
Should I plan the listing before the shoot?
Yes. Planning the gallery, A+ Content, Storefront, and advertising first tells the photographer exactly what needs to be captured.
Can I use AI instead of a real photoshoot?
AI can help with selected concepts and supporting scenes, but I prefer real photography when accuracy, scale, texture, packaging, fit, or human interaction matters.
Should I capture video during the shoot?
Yes. You already have the set, lighting, models, props, and product available, so it is one of the most efficient times to capture video.
Does professional photography guarantee higher conversion?
No. Photography is one part of the larger conversion system, alongside price, reviews, offer, positioning, copy, and product quality.
Summary
Your Amazon photoshoot should begin with strategy, not a camera.
Identify the customer.
Define the USP.
Study the competition.
List the shopper’s questions.
Plan the gallery, A+ Content, Storefront, and video requirements.
Then create the shot list.
Capture the product in the studio, in use, in real life, up close, at scale, and inside its packaging. Request multiple crops and orientations. Record video while the set is already active.
Most importantly, remember:
The photoshoot creates the assets. The listing design turns those assets into a sales system.
When both are planned together, you get more than attractive product photos.
You get a visual library that helps shoppers understand the product, trust the brand, and feel confident placing the order.
Need Amazon Photography Planned for Conversion?
A product shoot should give you more than a folder of attractive photos.
It should give your creative team everything needed to build a stronger main image, gallery, A+ Content, Storefront, video content, and advertising creative.
That is where AmazingCreative comes in.
We plan Amazon product photography around your customer, USP, listing strategy, and wider creative needs. That means deciding what should be photographed, how each scene should be framed, which product details matter most, and how the final assets will be used across your Amazon page.
Once the shoot is complete, our team can also turn those assets into a complete conversion-focused Amazon creative system.
Explore Our Amazon Product Photoshoot Service
Or book an Amazon creative strategy call and we’ll help you identify what your current photography is missing.

Riley Bennett
Amazon Strategist, 7-Figure Seller & Founder of AmazingCreative
Riley has been selling on Amazon and working with marketplace brands since 2015. He founded AmazingCreative to help brands improve their listings through stronger creative, clearer messaging, and conversion-focused strategy.
He has worked with more than 300 brands across Amazon CRO, PPC, SEO, product launches, and marketplace growth.
Since 2015 · Trusted by 300+ Brands · 7-Figure Amazon Seller